Introduction
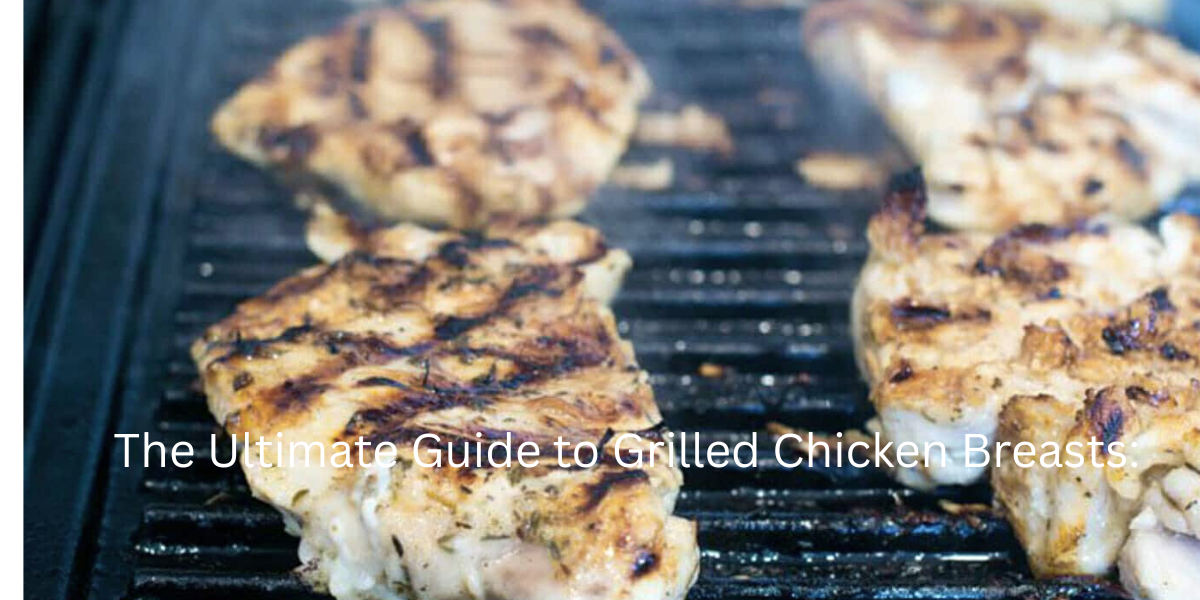
Grilled chicken breasts are a go-to for healthy dinners, The Ultimate Guide to Grilled Chicken Breasts: meal prep, and summer cookouts—but they’re also one of the easiest meats to overcook. Dry, rubbery, or flavorless chicken is frustrating, especially when you’re aiming for juicy, grilled perfection.
After grilling chicken for my family for over 15 years and testing countless techniques in my backyard kitchen, I’ve learned exactly what separates perfectly juicy chicken from the dry, disappointing kind. As someone who’s made every grilling mistake possible (and learned from each one), I’m here to share the proven methods that consistently deliver restaurant-quality results at home.
In this guide, you’ll learn exactly how to grill chicken breasts so they turn out juicy, flavorful, and cooked to the perfect temperature—every single time. Whether you’re using a gas grill, charcoal grill, or an indoor grill pan, I’ll walk you through the same step-by-step methods I’ve refined through hundreds of grilling sessions.
From choosing the right boneless skinless chicken breasts to mastering the marinade and cooking techniques, we’ve got you covered. These aren’t just theoretical tips—they’re battle-tested techniques I use weekly for my own family’s meals. If you’ve been searching for the best grilled chicken breast recipe, your journey starts here.
Choosing the Right Chicken Breasts
Great grilled chicken starts with the right cut. Through years of experimenting with different cuts and brands, I’ve found that boneless, skinless chicken breasts cook faster and more evenly on the grill. Look for pieces that are similar in size and thickness to ensure even cooking.
One mistake I made countless times as a beginner was trying to grill thick, uneven chicken breasts. If your chicken breasts are too thick, consider slicing them in half or pounding them to an even thickness. This helps prevent the outside from burning while the inside finishes cooking.
I consistently recommend air-chilled or organic chicken to my friends and family because these options tend to be more tender and flavorful, and they’re often better for grilling. In my experience testing various brands, the quality difference is noticeable in both texture and taste.
Avoid pre-marinated or frozen chicken if you want full control over flavor. After years of working with different chicken preparations, I’ve learned that even the best grilled chicken breast recipe won’t shine if the base ingredient isn’t fresh and properly prepped.
Essential Tools You’ll Need
In my 15+ years of grilling, I’ve learned that having the right tools makes the difference between success and frustration. Before you start grilling, make sure you have a few essential tools to make things easier—and your chicken better.
A reliable meat thermometer is non-negotiable in my kitchen—it’s the only way to ensure the right internal temperature for grilled chicken (165°F). I’ve seen too many home cooks guess doneness by feel alone, which leads to either undercooked or dry chicken.
From personal experience, I always keep a meat mallet handy to pound the chicken to an even thickness. This ensures it cooks evenly and stays juicy—a technique I learned after many years of uneven results.
Long-handled tongs are ideal for flipping without piercing the meat and losing juices. I prefer 12-inch tongs because they keep your hands safely away from the heat while giving you full control. If you’re using a grill pan indoors, choose one with ridges to mimic grill marks and help with airflow.
One final tip from my years of grilling mistakes: always have oil or nonstick spray ready to prevent sticking. I learned this the hard way after losing too many beautiful pieces of chicken to a sticky grill grate.
How to Prep for Success
The prep work is where I see most home cooks go wrong, and it’s where my years of experience pay off. Prepping your chicken properly makes a big difference when grilling. Start by trimming any excess fat, then pound the chicken breasts to an even thickness for faster, more even cooking.
Based on extensive testing in my kitchen, I recommend deciding between brining or marinating early in your prep. A quick brine (salt + water) helps lock in moisture, while a flavorful grilled chicken marinade adds depth. Even when I’m short on time, I’ve found that 30 minutes of marinating makes a noticeable difference.
Here’s a pro tip I learned after years of grilling: always pat the chicken dry before grilling—it helps you get better grill marks and prevents sticking. This simple step, which I initially overlooked as a novice, completely transformed my grilling results.
The Best Marinade for Grilled Chicken
After experimenting with dozens of marinade combinations over the years, I’ve found that a great grilled chicken breast marinade brings out flavor and keeps the meat juicy. The ideal marinade has three key parts: fat (like olive oil), acid (such as lemon juice or vinegar), and flavor boosters (garlic, herbs, spices).
My go-to base recipe, perfected through countless family dinners, combines olive oil, lemon juice, garlic, salt, pepper, and Italian herbs. I’ve learned that letting your boneless, skinless chicken breasts soak for at least 30 minutes works well, but overnight marinating produces restaurant-quality results.
Some of my family’s favorite variations include a BBQ version, spicy chili-lime, or a zesty Greek-style marinade. Through years of meal planning and prep, I’ve discovered that whether you’re aiming for healthy grilled chicken or bold flavor, the right marinade takes your grilled chicken breasts from basic to unforgettable.
Professional tip from my grilling experience: avoid marinating longer than 24 hours, especially with acidic ingredients, as this can break down the meat fibers too much.
Grilling Methods: Step-by-Step
Mastering how to grill chicken breasts has taken me years of practice with different grills and techniques. Whether you’re using a gas grill, charcoal grill, or indoor grill pan, I’ve tested all these methods extensively and can guide you through each one.
For gas grilling (my most-used method), preheat to medium-high and set up two zones—direct heat for searing, indirect for finishing. Through trial and error, I’ve found that placing the chicken on direct heat for 4-5 minutes per side, then moving it to indirect heat, prevents burning while ensuring thorough cooking.
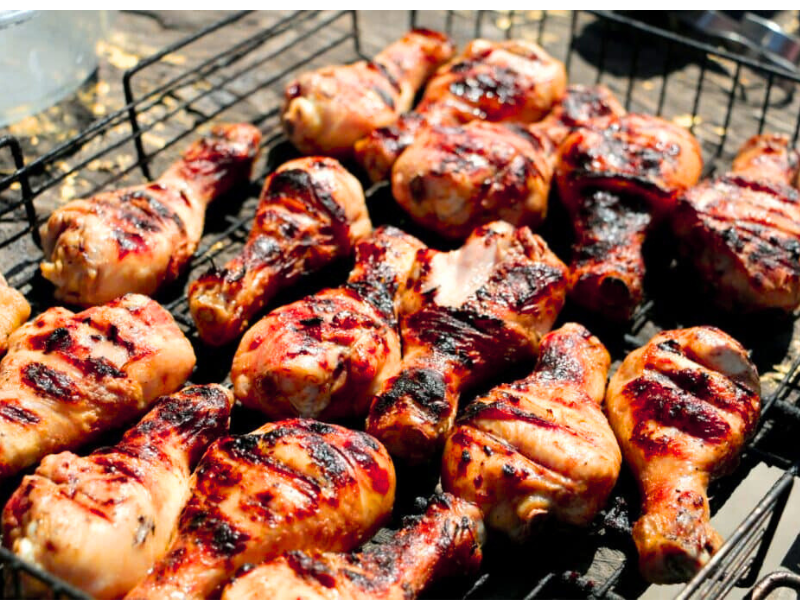
When using my charcoal grill, which I fire up at least twice a week during grilling season, I bank the coals to one side for the two-zone setup. Sear the chicken over hot coals, then move it to the cooler side to finish.
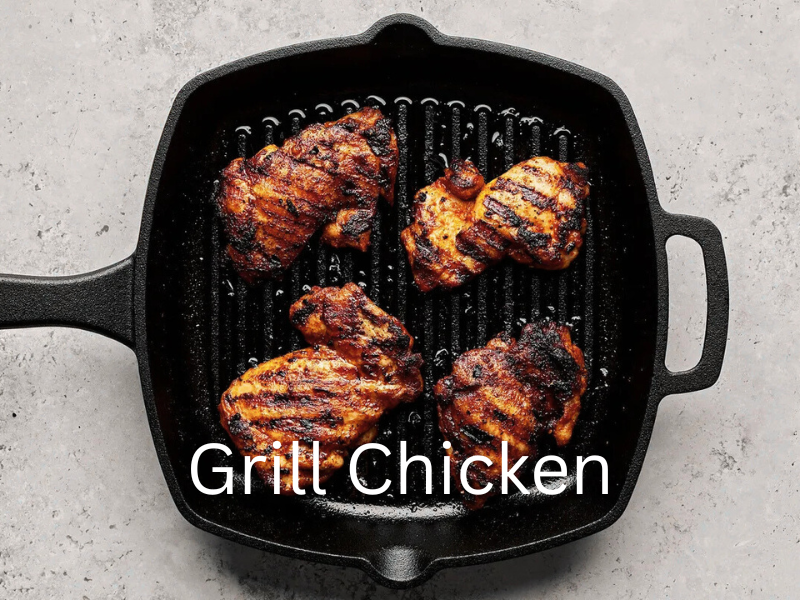
For indoor grilling (perfect for year-round cooking), a ridged grill pan works great. I’ve learned to preheat it thoroughly, oil the pan properly, and cook the chicken about 5 minutes per side. Keep an eye on your grill marks and avoid overcooking—mistakes I made frequently when starting.
Doneness Guide: Perfect Internal Temperature
This is where my years of experience matter—knowing the right internal temperature for grilled chicken is crucial for juicy results. Following USDA food safety guidelines, which I strictly adhere to in my kitchen, chicken breasts must reach 165°F to ensure safety.
I always use a reliable meat thermometer to check the thickest part without touching any bone. After making the mistake too many times early on, I never guess doneness by feel alone—this helps prevent dry or undercooked chicken.
Here’s something I’ve learned through experience: carryover cooking will raise the temperature slightly after you remove the chicken from the grill. For perfectly juicy results, I remove the chicken at 160°F and let it rest—it will reach the safe 165°F during resting.
My tested method: check the temperature early and let the meat rest for 5 minutes before slicing. This technique, which took me years to perfect, seals in the juices and flavor every time.
How to Keep Chicken Juicy Every Time
These juiciness tips come from years of perfecting my technique and learning from countless mistakes. Keeping your grilled chicken breasts juicy is all about proper technique.
First rule I follow religiously: avoid flipping the chicken too often—let it sear properly to develop those beautiful grill marks and lock in moisture. I learned this lesson after many years of impatient flipping that resulted in dry chicken. Use tongs instead of forks to prevent piercing the meat and losing juices.
Another technique I swear by: never grill chicken straight from the fridge. Through extensive testing, I’ve found that letting it come to room temperature for about 15 minutes helps it cook evenly.
My final secret for consistently juicy results: once cooked to the perfect internal temperature, remove the chicken from the heat and let it rest for 5 minutes. This resting period, which I initially skipped as an impatient cook, allows the juices to redistribute throughout the meat.
Serving Ideas & Meal Uses
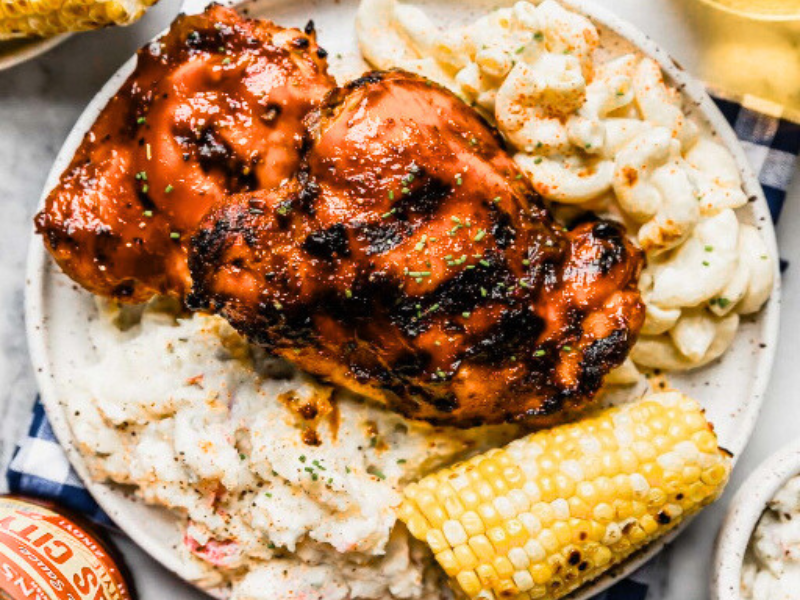
As someone who meal preps weekly and feeds a family regularly, I can tell you that grilled chicken breasts are incredibly versatile. Some of my family’s favorite ways to use our weekly batch include slicing the juicy grilled chicken over fresh salads, tossing it into wraps, or adding it to grain bowls for a nutritious boost.
From my years of meal planning experience, grilled chicken pairs beautifully with grilled vegetables, rice, or a light pasta salad for balanced dinners. For busy families like mine, grilled chicken is perfect for meal prep—it’s a low-fat, protein-packed option that stays flavorful even after refrigeration.
Creative leftover ideas I use regularly include quesadillas, sandwiches, and quick stir-fries. Whether you’re following keto, gluten-free, or other dietary approaches (as I’ve had to accommodate for various family members), mastering grilled chicken breasts opens up endless healthy possibilities.
Storage & Reheating
Through years of meal prep and leftover management, I’ve perfected the art of storing and reheating grilled chicken without losing flavor or moisture. My proven method: let the chicken cool slightly after cooking, then store it in an airtight container in the refrigerator. Based on food safety guidelines, I follow strictly and consume within 3-4 days for best quality.
For longer storage, which I do regularly for meal prep, wrap each breast tightly in plastic wrap or foil, then place it in a freezer-safe bag. I’ve successfully stored frozen chicken breasts for up to 3 months with excellent results.
Here’s a reheating tip that took me years to perfect: avoid the microwave if possible, as it dries out the meat. My preferred method, tested countless times, is reheating gently in a skillet over low heat with a splash of water or broth. Alternatively, I warm it in the oven covered with foil at 275°F until heated through.
Following these storage methods, I’ve refined over the years of cooking, your leftover grilled chicken breasts will stay tender, flavorful, and perfect for quick meals.
FAQs
Based on questions I get regularly from friends and family, here are the most common grilling concerns:
Why is my grilled chicken rubbery? From my experience, troubleshooting this exact problem, this usually happens when you overcook the chicken or use too high heat. I’ve learned that cooking at medium heat and checking the internal temperature prevents this issue.
Can I grill frozen chicken breasts? After testing this method multiple times, it’s always best to thaw chicken before grilling for even cooking and juiciness. I’ve found that grilling frozen chicken leads to uneven cooking and dryness.
How long can I marinate chicken breasts? Through extensive testing, I recommend marinating between 30 minutes and 24 hours. I’ve learned the hard way that over-marinating, especially with acidic ingredients, breaks down the meat and makes it mushy.
Following these guidelines, I’ve developed through years of grilling experience, your chicken will be tender, juicy, and full of flavor every time.
Conclusion
After 15+ years of grilling for my family and perfecting these techniques through countless meals, I can confidently say that grilling juicy, flavorful chicken breasts isn’t as tricky as it seems once you know the right methods.
The techniques I’ve shared here—from choosing fresh boneless skinless chicken breasts to using proven marinades and mastering temperature control—represent years of testing and refinement in my kitchen. Remember to monitor the internal temperature with a reliable thermometer, avoid overcooking, and let your chicken rest before slicing.
Whether you’re using a gas grill, charcoal, or an indoor grill pan, these methods I’ve personally tested and refined will help you serve up delicious, tender grilled chicken every time. I encourage you to try these techniques and share your results—there’s nothing more satisfying than seeing others succeed with methods you’ve spent years perfecting.
Now it’s your turn to put these proven techniques to work. Enjoy the juicy, healthy, and versatile meals you can create with confidence!